
Organic Growth Accelertion
Organic growth accelertion Home Project Details Client :Jonathan Carter Category :Organic growth… […]


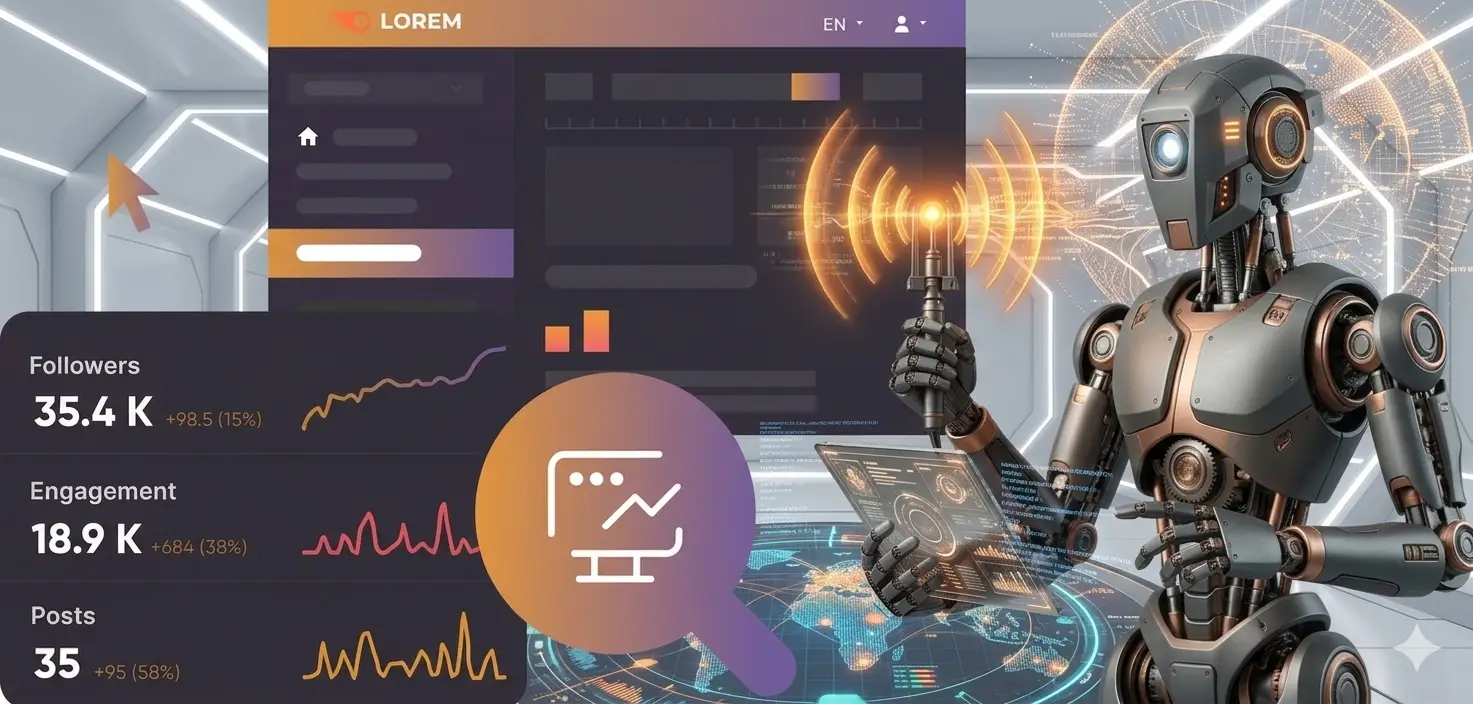
Organic growth accelertion Home Project Details Client :Jonathan Carter Category :Organic growth… […]

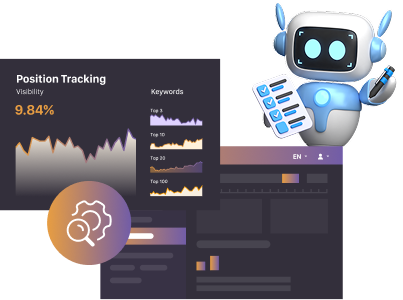
Search visibility campaign Home Project Details Client :Jonathan Carter Category :Search visibility… […]

Click to conversion seo plan Home Project Details Client :Jonathan Carter Category […]

SERP dominance plan Home Project Details Client :Jonathan Carter Category :SERP dominance… […]


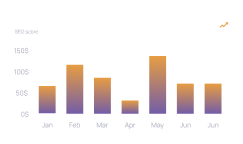
“ We saw a 300% increase in organic traffic months SEO implemented truly transformed presence Professional.!”